
The internet is full of ads and trackers, while I just want to browse in peace with a bit of privacy.
Where it all began
A long time ago, I was an avid Chrome user. Most of the websites I was visiting, worked fine and I didn’t really mind the data I was sending to Google and other companies. Until one day, I was getting recommendations on Facebook for products I didn’t even want, but I searched for briefly.
I took 2 steps to prevent this from happening again:
- I switched to Firefox, which in my opinion was more privacy focused since it is not backed by Google.
- I installed AdGuard and Privacy Badger in an attempt to block ads and trackers.
This worked great for me…until I switched over to my phone.
Network Ad Blocking
I did not want to set up ad blocking on each device I used, or even worse, the devices my parents used. So I started looking for a solution that covers the whole network at home. I stumbled upon Pi-hole, which seemed to be a great solution. I installed it on a Raspberry Pi, set the IP as the DNS server for all devices in the network and I was done.
Automation using Ansible
This worked great for a while, but I wanted to improve on the setup of the Raspberry Pi. I called upon Ansible and automated the process of installing a Pi-Hole with Docker.
- name: Make sure the pihole container is created and running
  docker_container:
    name: "pihole"
    image: pihole/pihole
    state: 'started'
    ports:
      - "53:53/tcp"
      - "53:53/udp"
      - "67:67/udp"
      - "80:80/tcp"
    volumes:
      - '{{ docker_dir }}/{{ container_name }}/pihole:/etc/pihole'
      - '{{ docker_dir }}/{{ container_name }}/dnsmasq.d:/etc/dnsmasq.d'
    env:
      "TZ": "Europe/Brussels"
    labels:
    restart_policy: unless-stopped
Automatic updates
Automating the deployment of an application feels great, but getting automatic updates is even better. For this, I used Watchtower, an application that checks your Docker containers for new image versions and restarts the container when a new image is available. A fun side effect of this, is that Watchtower will also keep itself up to date.
---
- name: Make sure the Watchtower container is created and running
  docker_container:
    name: "watchtower"
    image: "containrrr/watchtower"
    pull: yes
    state: 'started'
    volumes:
      - "/var/run/docker.sock:/var/run/docker.sock"
    restart_policy: unless-stopped
Introducing Kubernetes
I was happy with my setup, but I wanted to learn more about Kubernetes. I decided to move my Pi-Hole setup to a Kubernetes cluster. I used k3s to set up a single node cluster on my Raspberry Pi. I used ArgoCD as my GitOps tool to deploy my applications to the cluster. And I won’t dive much further into this, the setup deserves a post by itself.
AdGuard Home
Through the years, another tool has caught my attention. Mostly because of the slow release cycle of Pi-Hole, but also because of the features it offers. I’m talking about AdGuard Home.
To install AdGuard Home on a Kubernetes cluster, I used following manifest, which will do following things:
- run the latest version of AdGuard Home
- create a named port for the web interface on port 80 and DNS on port 53
- mount 2 persistent volumes for the configuration and workspace
I would have loved to put this in a collapsible block, but I can’t get it to work unfortunately.
  apiVersion: apps/v1
  kind: Deployment
  metadata:
    name: adguard-home
    labels:
      app: adguard-home
  spec:
    replicas: 1
    revisionHistoryLimit: 1
    selector:
      matchLabels:
        app: adguard-home
    template:
      metadata:
        labels:
          app: adguard-home
      spec:
        serviceAccountName: adguard-home
        containers:
          - name: adguard-home
            image: 'adguard/adguardhome:v0.107.43'
            ports:
              - containerPort: 80
                protocol: TCP
                name: web
              - containerPort: 53
                protocol: UDP
                name: dns-udp
              - containerPort: 53
                protocol: TCP
                name: dns-tcp
            env:
              - name: TZ
                value: "Europe/Brussels"
            volumeMounts:
              - name: configuration
                mountPath: /opt/adguardhome/conf
              - name: workspace
                mountPath: /opt/adguardhome/work
        volumes:
          - name: configuration
            persistentVolumeClaim:
              claimName: adguard-home-config
          - name: workspace
            persistentVolumeClaim:
              claimName: adguard-home
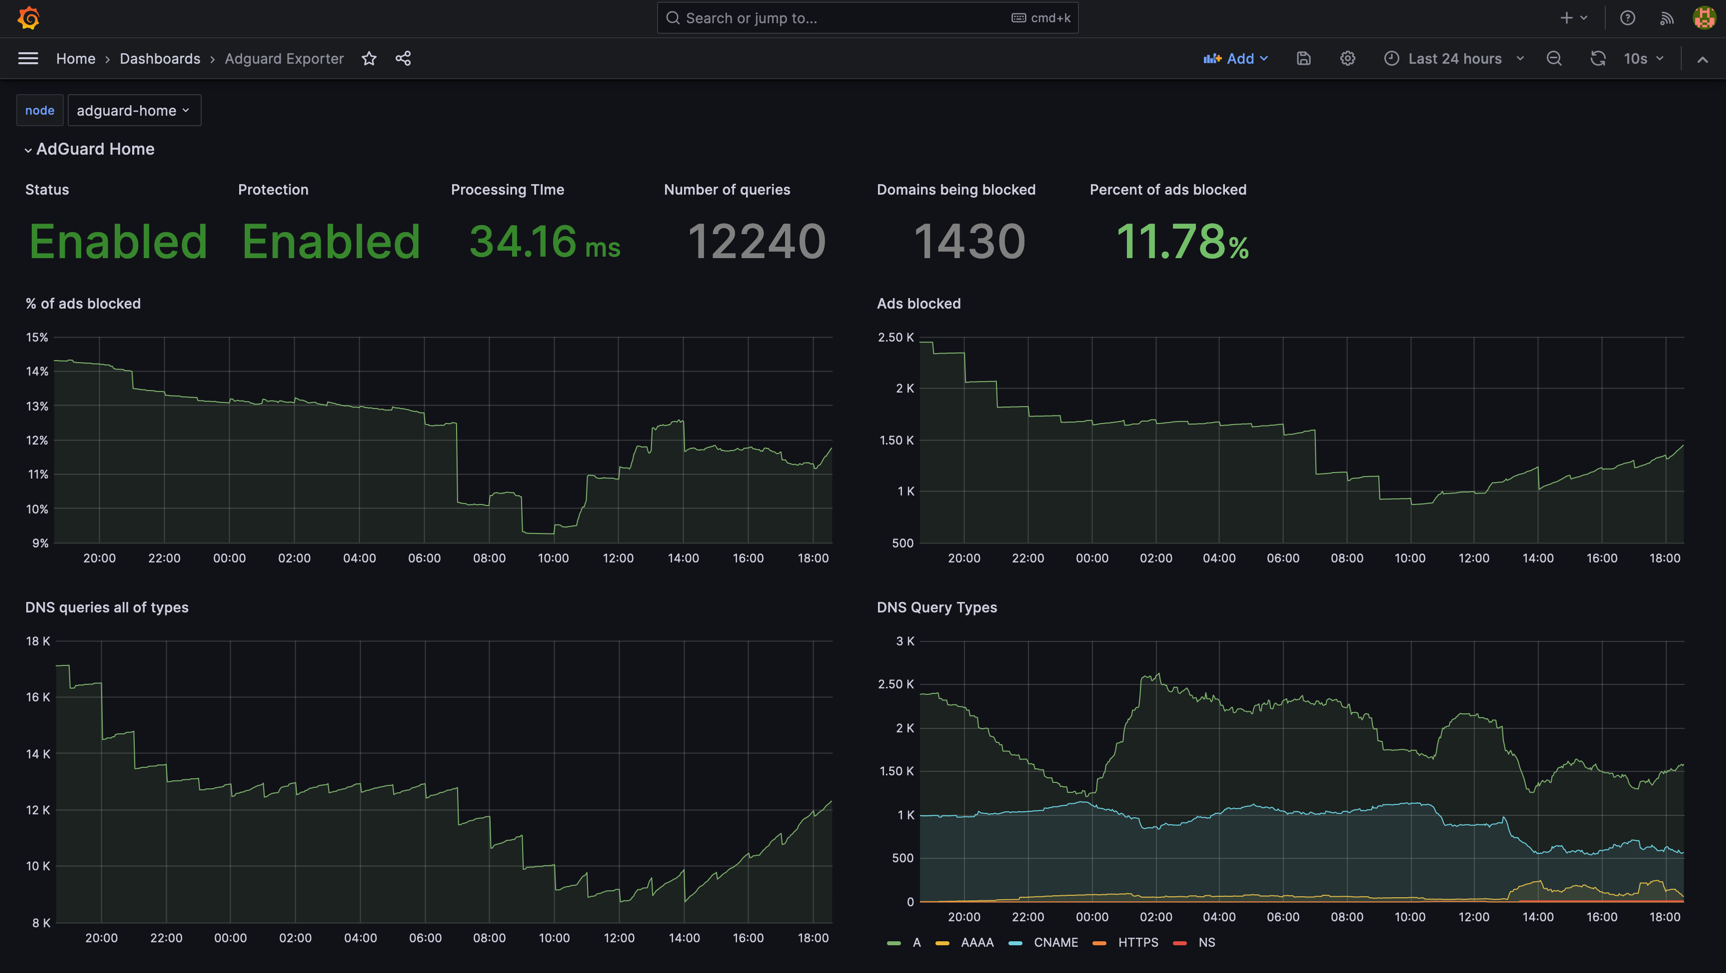
Next to the AdGuard deployment, I decided to run a deployment for acaranta/adguard-exporter which will run a
Prometheus exporter so I can get AdGuard metrics into Grafana.
On the road
This setup works fantastic for me, because I get ad blocking on all devices in my home network. But that only works when I’m at home, so I need a setup to get the same benefits when I’m away from home.
WireGuard to the rescue! I have 2 servers running WireGuard, 1 on AWS acting as a server to which all peers connect. And one running on a server in my home network, acting as a peer. This way, I don’t need to expose any ports to the internet, but all traffic needs to pass to an isolated VM on AWS first.
On AWS, I am running WireGuard with following configuration:
[interface]
Address    = 192.168.3.254/24
ListenPort = 51820
PrivateKey = {{ wireguard_private_key }}

# Forward/ MASQUERADE outgoing connections (Internet)
PostUp   = iptables -t filter -A FORWARD -j ACCEPT -i %i ! -o %i
PostDown = iptables -t filter -D FORWARD -j ACCEPT -i %i ! -o %i
PostUp   = iptables -t nat    -A POSTROUTING -j MASQUERADE -s 192.168.3.0/24 ! -o %i
PostDown = iptables -t nat    -D POSTROUTING -j MASQUERADE -s 192.168.3.0/24 ! -o %i

# Allow forwarding WireGuard traffic (optional)
PostUp   = iptables -t filter -A FORWARD -j ACCEPT -i %i -o %i
PostDown = iptables -t filter -D FORWARD -j ACCEPT -i %i -o %i

# Phone
[peer]
PublicKey  = {{ phone_public_key }}
AllowedIPs = 192.168.3.4/32

# Home VPN
[peer]
PublicKey  = {{ home_vpn_public_key }}
AllowedIPs = 192.168.3.6/32
AllowedIPs = {{ home_network_range }}
This way, I could pass all traffic from my phone through WireGuard but my home range would be routed through the peer inside my network.
In my network, I’m running WireGuard with following configuration:
[interface]
Address    = {{ wireguard_ip }}
ListenPort = 51820
PrivateKey = {{ wireguard_private_key }}

# Route wireguard traffic
PostUp   = iptables -t nat    -A POSTROUTING -j MASQUERADE -s 192.168.3.0/24 ! -o %i
PostDown = iptables -t nat    -D POSTROUTING -j MASQUERADE -s 192.168.3.0/24 ! -o %i

# AWS
[peer]
Endpoint            = {{ aws_ip }}:51820
PublicKey           = {{ aws_public_key }}
AllowedIPs          = 192.168.3.254/24
PersistentKeepalive = 30
The important part with this is the iptables section which will make sure that requests for other IP addresses inside
my network are routed to the correct place and the response is routed back to where it belongs.
Now the only this I have to do, is install the WireGuard app on my phone, add myself as a peer, and set the DNS server when using WireGuard to the IP of my AdGuard Home instance.